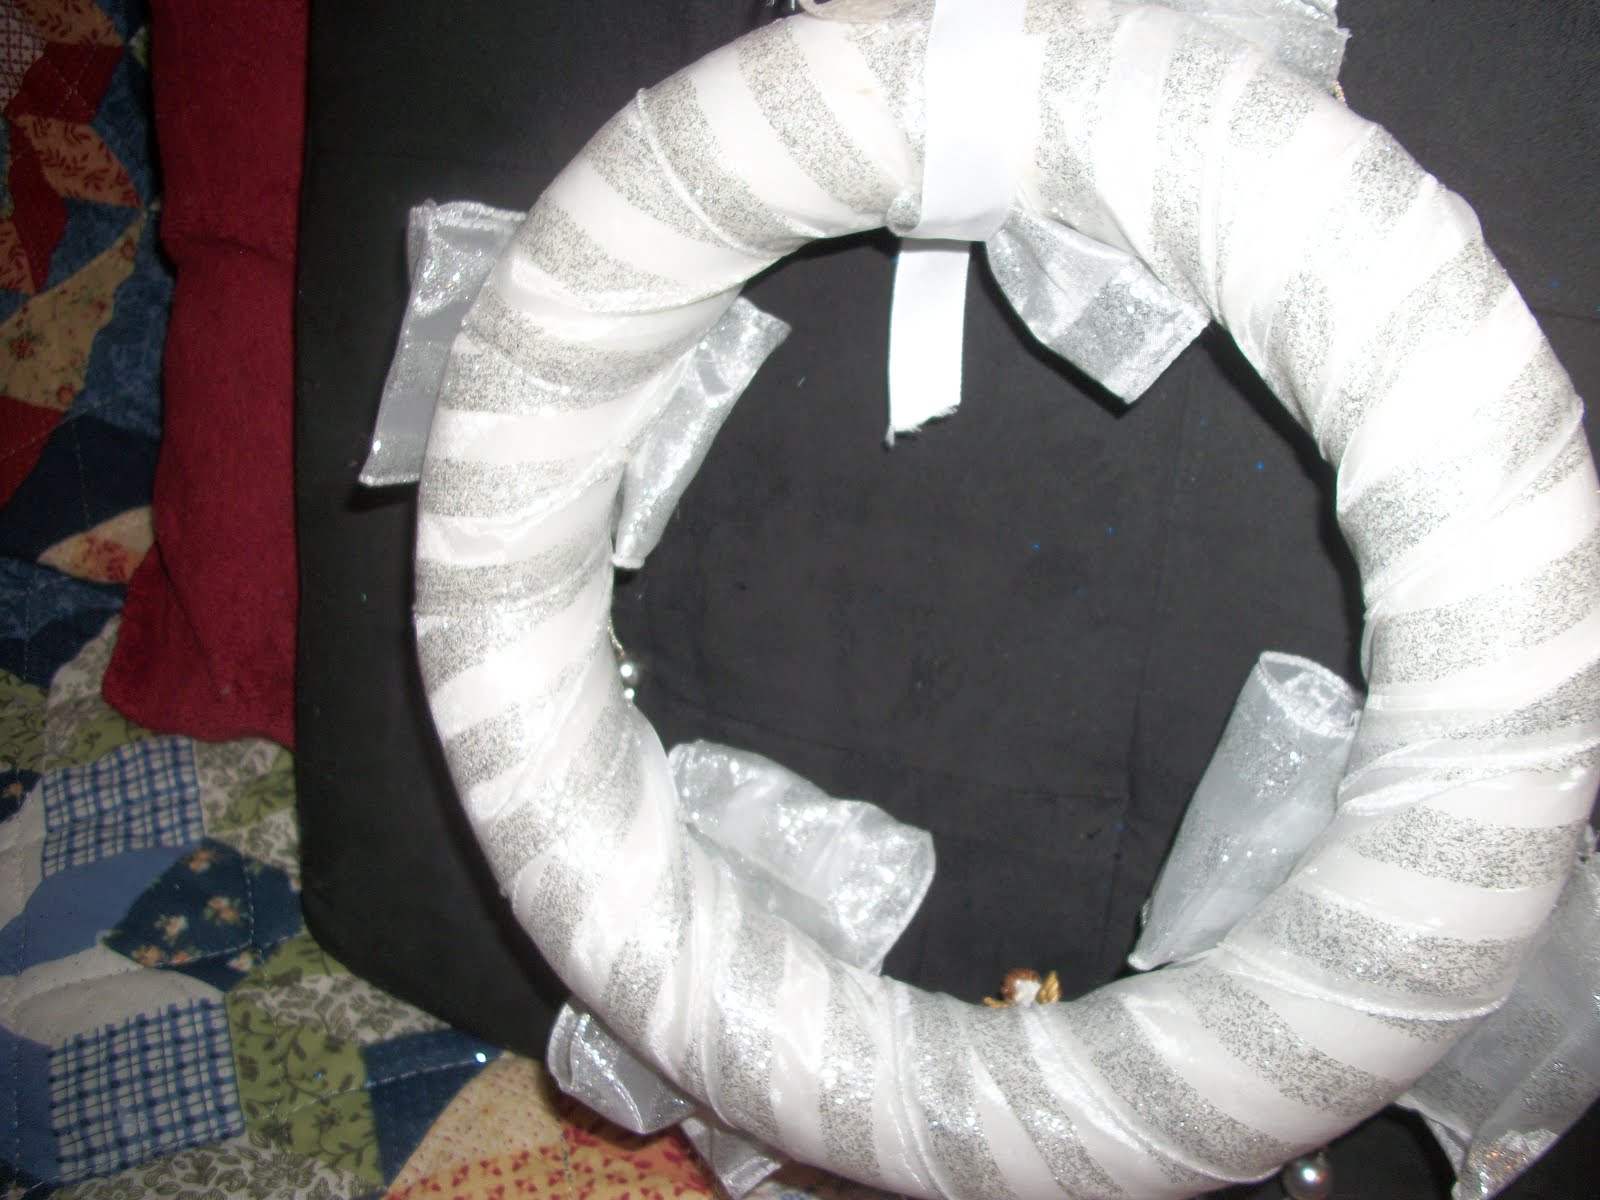
I love angels and collect them whenever I can. I have miniature angels that I used for this stunning wreath. I wrapped some elegant white and silver ribbon on a styrofoam form and glued miniature angels on top. I draped a long strand of pearly beads in variegated colors weaved in and out the ribbon.
This wreath I am especially proud of because I love the combination of silver and white. I just can't decide where to put this lovely wreath.
In between browsing for recipes that don't take half of a day to prepare, I still do crafts and this is a busy time for me. I just love doing crafts and time sure does fly when you get involved with something and the ideas flow on some days, on other days they don't. I have finished a few wreaths that I started last week and and some miscellaneous crafts.
For this wreath, I wrapped red shimmery ribbon all around a styrofoam form and glued wire edged holly and ivy organza ribbon all around on top of the red ribbon. I attached four shiny bells to add extra color.
I made these adorable wreaths out of plastic bags, cut into 4" strips that I tied onto wire forms. One is a 9" circle and the other one is 12". I added some whimsical ornaments to each. After putting all the plastic strips on, I draped silver cording and made a bow on the top for the large wreath. The additional ornaments are my handmade ornaments that I painted myself and strung them in random places on the wreath. For the small wreath I draped green curling ribbon for the bow.
I love making Christmas ornaments especially when I can use recycling items such as cardboard; which I save for the many crafts I do.
I printed out a picture of Santa and traced it on a circle of cardboard and painted in the details and finished with red glitter on his suit and white glitter on his beard. I hole punched it and strung a red ribbon on top.
These penguin ornaments were also a hit with the kids. I cut out circles or rectangular shapes from the paper and glued down to cardboard templates and smoothed them down. Then I sprinkled deep purple glitter on one of them and sprinkled irredescent glitter on the others. I strung purple satin ribbon on the top and gave some to my granddaughter, nieces.
This is the time of the year when I start my crafts. I love Autumn and all the things that it brings; the warm colors, crisp air, and burning leaves (depending on your location). I had a blog before but like many other people....I am human, and I didn't blog enough to keep it. My other love is cooking and I collect fantastic recipes and together with my own concoctions I will be posting them here. Here are some cute crafts for fall that are rather easy to do.
Autumn Ribbon Wreath
Cardboard form (12")
Wired ribbon (variety of fall colors)
Solid ribbon
Scissors
Hot Glue
INSTRUCTIONS:
1. Cut from cereal box or anything that's big enough that will make a 10" or 12" circle with a 2 inch solid base that will have the ribbon on.
2. Get the solid ribbon as the base color and wind it around the cardboard form at every so and then intervals with hot glue. I didn't measure ahead of time because I didn't want to run out of ribbon. It was easier to wrap the ribbon around.
3. With the other colored wired ribbon, cut 4 inch strips of each color (you need many of them). Curl each of the strip to make a curl and place on top of the wreath with hot glue. Make sure you wear protective gloves with this project. You are working with close corners here.
4. Put each curl next to the other one, etc. until the front of the wreath is covered. The back of the wreath you don't need to put the ribbon curls because you will be hanging it where everyone will see it.
==============================================================================
Autumn leaves and Potpourri lined jar
I always have jars handy and I made one to make this lovely autumn jar. It only took a few things to make it and a pretty ribbon completes this cute tabletop or fall centerpiece.
MATERIALS.
1. Colorful fall leaves from any craft store
2. Scented potpourri
3. Wired fall colored ribbon (if you can find wired)
4. Battery operated tealight
INSTRUCTIONS:
1. Clean and dry a pretty sized jar. Line the walls with colored fall leaves and make sure they are lining the jar and no spaces are empty.
2. Put your scented potpourri inside to the top and there's so many warm fall scents, I was crazy deciding to get.
3. Make a pretty bow outside with the wired ribbon if you have the wired ribbon.
4. Set a battery operated tealight on top of potpourri. When you light the tealight, it will light up the jar and also give the room a slight aroma of the warm potpourri.